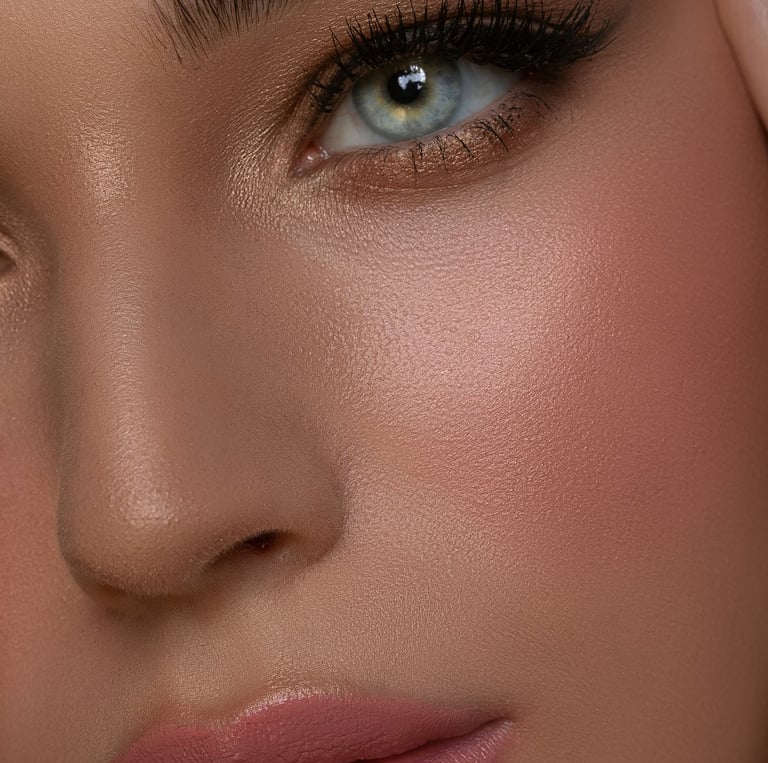
Under Eye Magic: Brighten, Conceal & Lock It In All Day ✨
Let’s be real: the under-eye area is high maintenance. 😅 It’s delicate. It creases. It can make you look fresh or flat-out exhausted. But once you master a few under-eye makeup tricks, you’ll never look back. In this guide, we’re diving into everything from choosing the right concealer, prepping like a pro, and using the right tools to keep it all flawless — all day long. Because there’s nothing magical about creased concealer or a cakey mess. But when you get it right? You glow, girl. Let’s work some true under-eye magic.

✨ Step 1: Prep Like a Queen
Your concealer is only as good as the canvas it sits on. So before we even get to the makeup, prep is non-negotiable.
Start with a hydrating eye cream. Look for one that contains ingredients like hyaluronic acid for moisture or caffeine to depuff. Apply a small amount using your ring finger — it applies the least pressure to your delicate under-eye area.
If your under-eye is dry, flaky, or textured, no concealer in the world will sit right. But with hydration? Boom — smooth city.
Use a lightweight, fast-absorbing eye cream to prep the skin without making it greasy.*
You can even go the extra mile by using a cooling eye roller before application. It helps reduce puffiness and gives a lifted look instantly.
🪄 Step 2: Color Correction = Your Secret Weapon
Got dark circles? You don’t have to pile on concealer to hide them — instead, cancel them out.
Here’s how it works:
If you have blue or purple-toned circles, go for a peach or salmon-toned corrector.
If you have brown or deeper pigmentation, an orange-toned corrector works better.
Just dab a thin layer where the discoloration is strongest — usually in the inner corner and right under the eye.
Use a creamy, peachy color corrector to neutralize darkness without caking up.
Don’t go too heavy here — your concealer still needs to do its job on top.
💡 Step 3: Pick Your Perfect Concealer
This is where most people go wrong: choosing the wrong concealer type or shade.
Look for a concealer that is hydrating yet long-wearing. You want it to move with your skin, not crack like a desert.
For brightening, go one shade lighter than your foundation.
For natural looks, choose a concealer that matches your skin tone.
For extra coverage, use a buildable formula — not a thick one.
Try a radiant-finish concealer for a natural, skin-like glow under the eyes.
Pro Tip: Don’t swipe on a thick triangle under your eye. Instead, place a small amount in the inner and outer corners only — then blend. It looks more natural and avoids creasing.
🎨 Step 4: Blend with Purpose
Now that your concealer is placed, it’s time to blend like a pro.
You can use your fingertip, a damp makeup sponge, or a precision concealer brush. Each one gives a slightly different effect:
Fingertips warm up the product for a skin-like finish.
A sponge sheers it out for natural, airy coverage.
A brush gives you more control and precision.
Start tapping lightly, don’t drag — tapping presses the product into the skin without disrupting coverage.
Use a soft, mini blending sponge or dense concealer brush to smooth and diffuse edges seamlessly.
Let it sit for 30 seconds before blending if you want more coverage — it gives the product time to thicken slightly.
💫 Step 5: Lock It In with Powder (The Right Way)
Setting your under-eyes is key — but using the wrong powder or too much can be a disaster. You want to avoid creasing, not create a dry, cracked situation.
Go for a finely-milled, lightweight translucent powder. It should feel soft to the touch and almost melt into the skin.
After blending your concealer, use a tiny amount of powder on a small fluffy brush or powder puff. Press it into the skin gently — don’t sweep or over-apply.
Try a blurring translucent powder that sets without making your under-eyes dry or flat.
If you’re extra oily or need long wear (think events, weddings, etc.), you can bake lightly for a few minutes — but only with a super light hand.
⚡ Bonus Tricks for Next-Level Bright Eyes
These extras aren’t essential, but they’re great if you want to go all in.
Highlight the Inner Corners
Use a touch of shimmer shadow or highlight pencil in the tear duct area. It makes your eyes pop instantly.
Use a Nude Eyeliner on the Waterline
This brightens the eye and counteracts redness, making you look instantly more awake.
Pick a nude waterproof eyeliner that glides on easily without tugging.
Lift with a Concealer Hack
Add a tiny bit of concealer just under your outer eye corner and flick it upward toward your temple. Blend it in, and voilà — instant lifted look.
💥 Avoid These Under-Eye Mistakes
Let’s spare you some common pain points:
1. Using a thick, matte concealer alone
Matte + dry = creased and cakey. If you must use one, add an eye cream or mix it with a hydrating concealer.
2. Skipping color correction on dark circles
That’s how you end up with grey tones under your eyes. Correct, then conceal.
3. Not blending fast enough
Concealer can dry down quickly. Blend one eye at a time for better results.
4. Over-powdering
Less is more. Powder only where needed — usually the center under the eye — not the entire under-eye area.
5. Using the wrong tools
Fingers are fine, but brushes and mini sponges often give more control and precision.
🌈 Product Suggestions You’ll Love
Want to level up your under-eye routine? Here are some must-haves to experiment with:
Peachy color corrector for neutralizing darkness
Hydrating, creamy concealer that brightens without creasing
Soft blending sponge for a seamless finish
Fluffy detail brush for precision powdering
Ultra-fine translucent powder to lock everything in
Nude waterline pencil for an awake, fresh look
Cooling eye serum roller for a smooth, de-puffed base
Each of these can be game-changers in your makeup kit.
💖 Final Thoughts: Let Your Eyes Do the Talking
The under-eye zone is tiny but mighty. When you give it the care and technique it deserves, it transforms your entire look — brightening your face, lifting your features, and giving you that “I slept 8 hours” glow (even if you didn’t).
The key is balance: moisture + coverage + set = magic.
And remember — less is more. Start small, build where needed, and don’t be afraid to play around until you find what makes you feel fabulous.
Because under-eye makeup isn’t just about hiding flaws. It’s about revealing radiance.
Glow is an Attitude
© 2025. All rights reserved