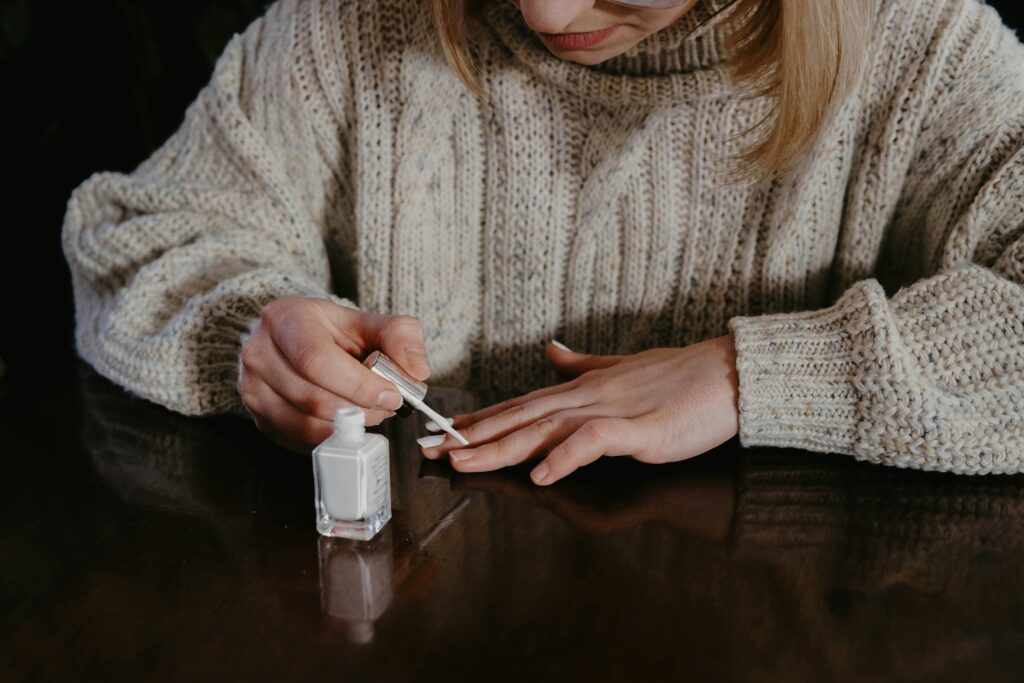
💅 Step 1: Start With a Clean Slate
Before we even think about polish, we need to clean and prep your nails like a pro. Dirt, oils, old polish — all of it has to go.
-
Remove any old nail polish using a non-acetone remover (it’s gentler)
-
Wash your hands with warm water and a gentle nail brush to scrub under the nails
-
Dry thoroughly — polish won’t stick to damp nails
✨ Bonus tip: Wipe nails with a little alcohol or prep solution to remove any leftover oils
✂️ Step 2: Shape Your Nails Like a Pro
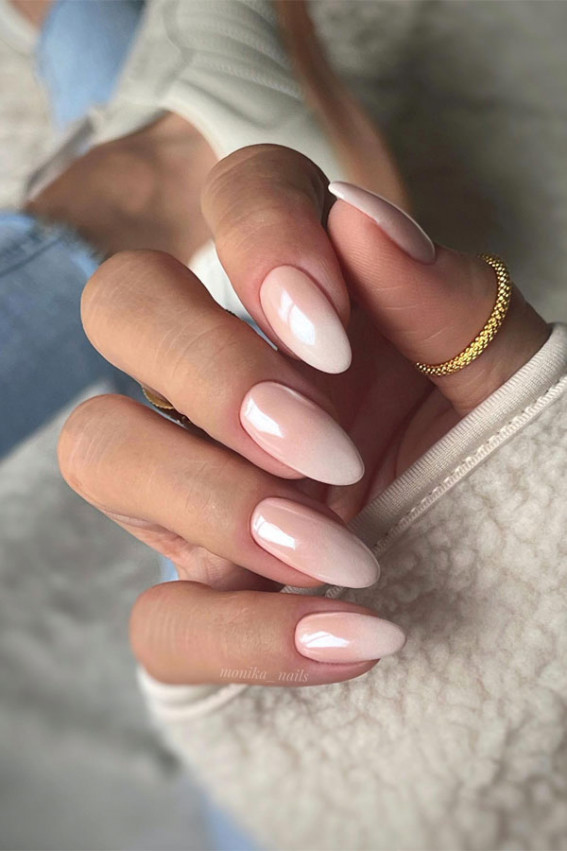
Whether you’re a square, round, or almond girlie, the shape matters. But so does how you get there.
-
Use a glass nail file — it’s gentler and gives you more control
-
File in one direction only (not back-and-forth like a saw)
-
Buff the surface lightly with a nail buffer to smooth ridges
✨ This 4-in-1 buffer block is a game changer — smooth, shine, and prep all in one
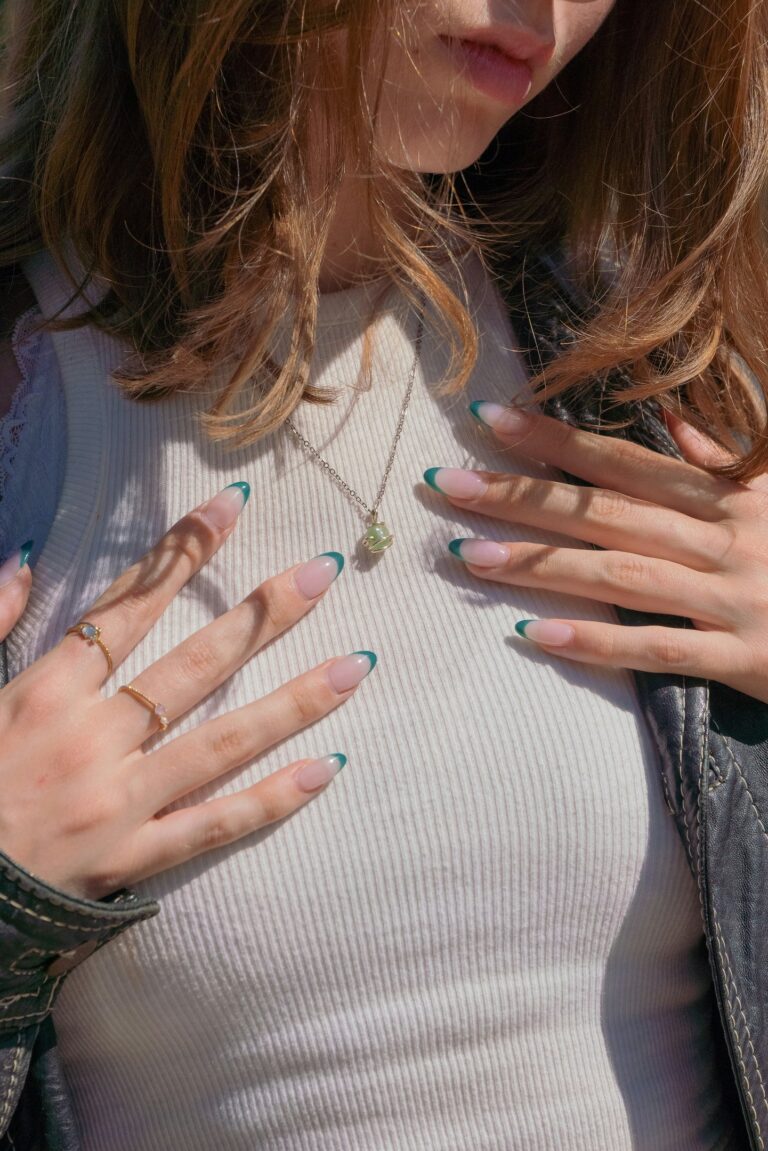
🌿 Step 3: Care for Those Cuticles (Don’t Skip This!)
Remember our last blog? Cuticles are the gatekeepers of healthy nails. Pushing them back gives you that clean, professional finish.
-
Apply cuticle softener or soak in warm water for 5 minutes
-
Use a cuticle pusher to gently nudge them back — don’t force!
-
If needed, trim hangnails only with sharp, sanitized tools
✨ Follow with cuticle oil to hydrate and lock in moisture
🧴 Step 4: Don’t Skip Base Coat. Ever.
Base coat = primer for your polish. It helps color go on smooth, last longer, and prevents staining.
Look for a strengthening base coat if your nails are brittle or peel easily.This layer makes everything else cling better — like foundation for your face, but for nails.
✨ A ridge-filling base coat is magic for smoother polish application
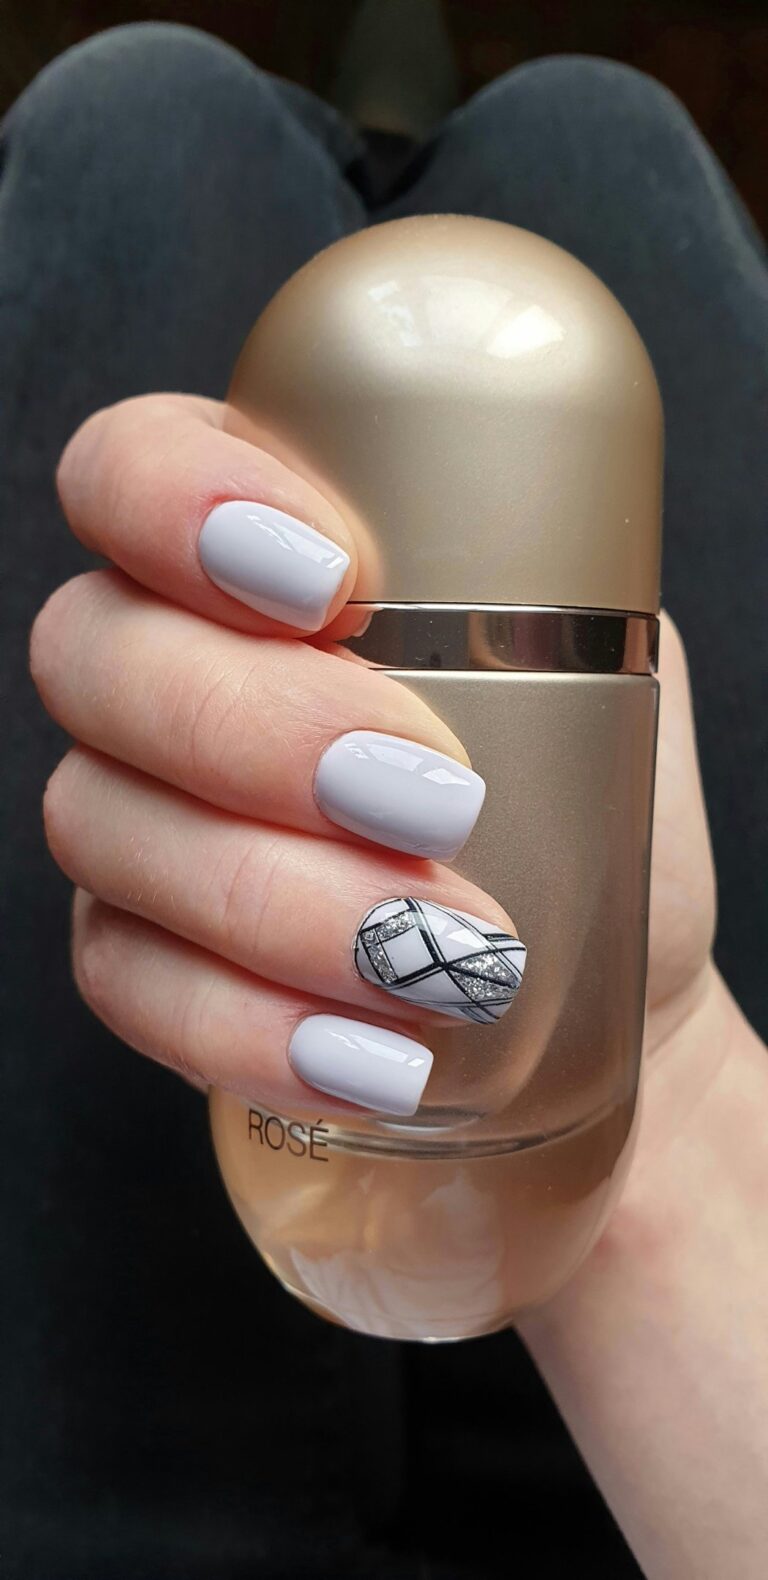
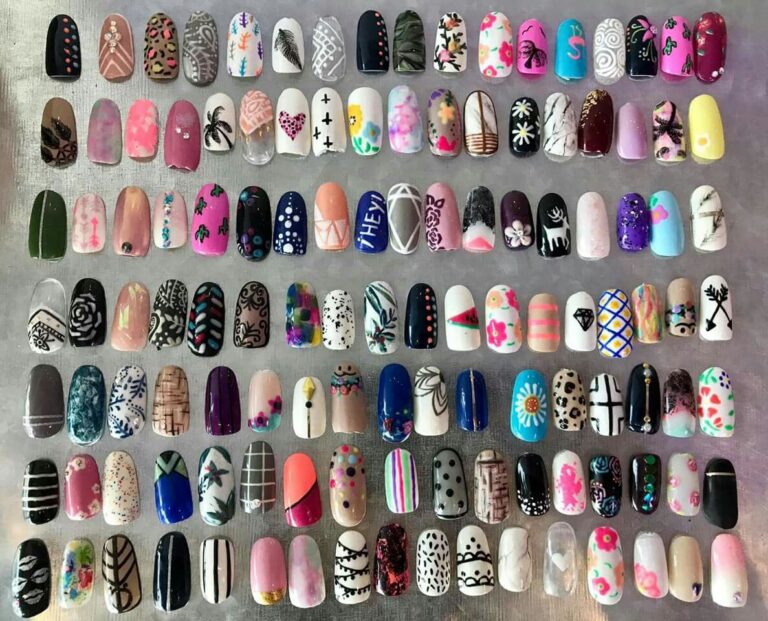
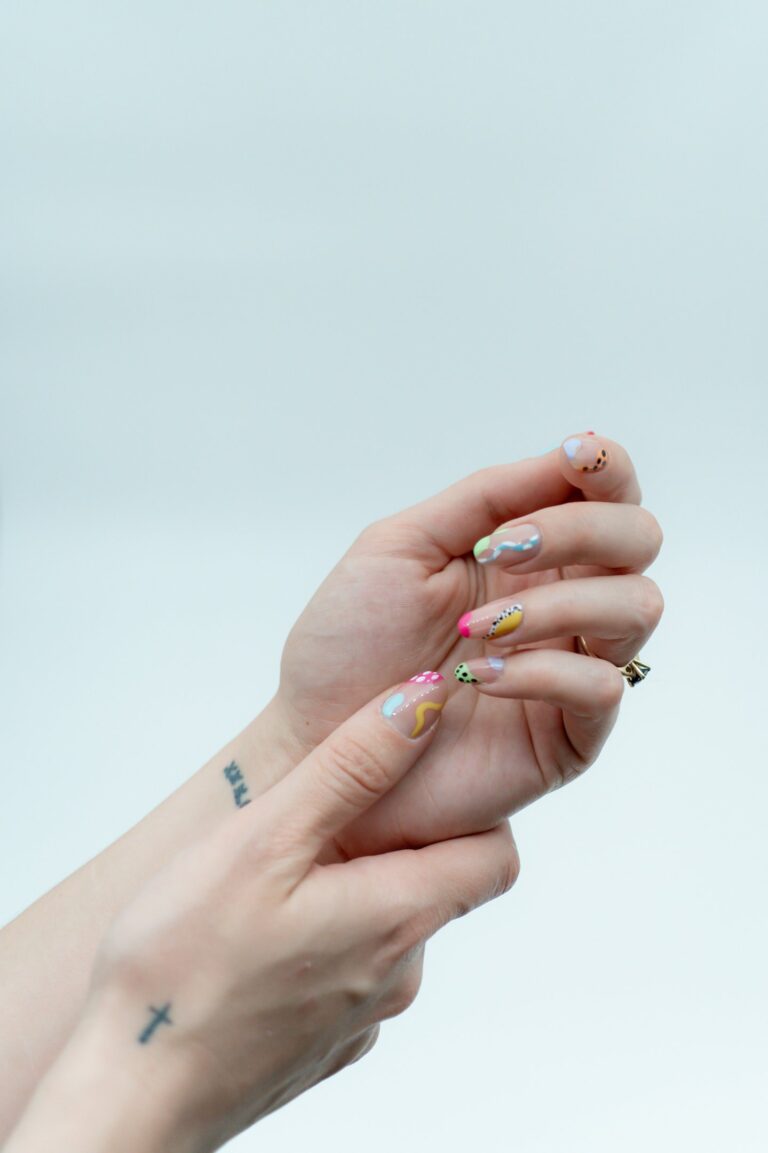
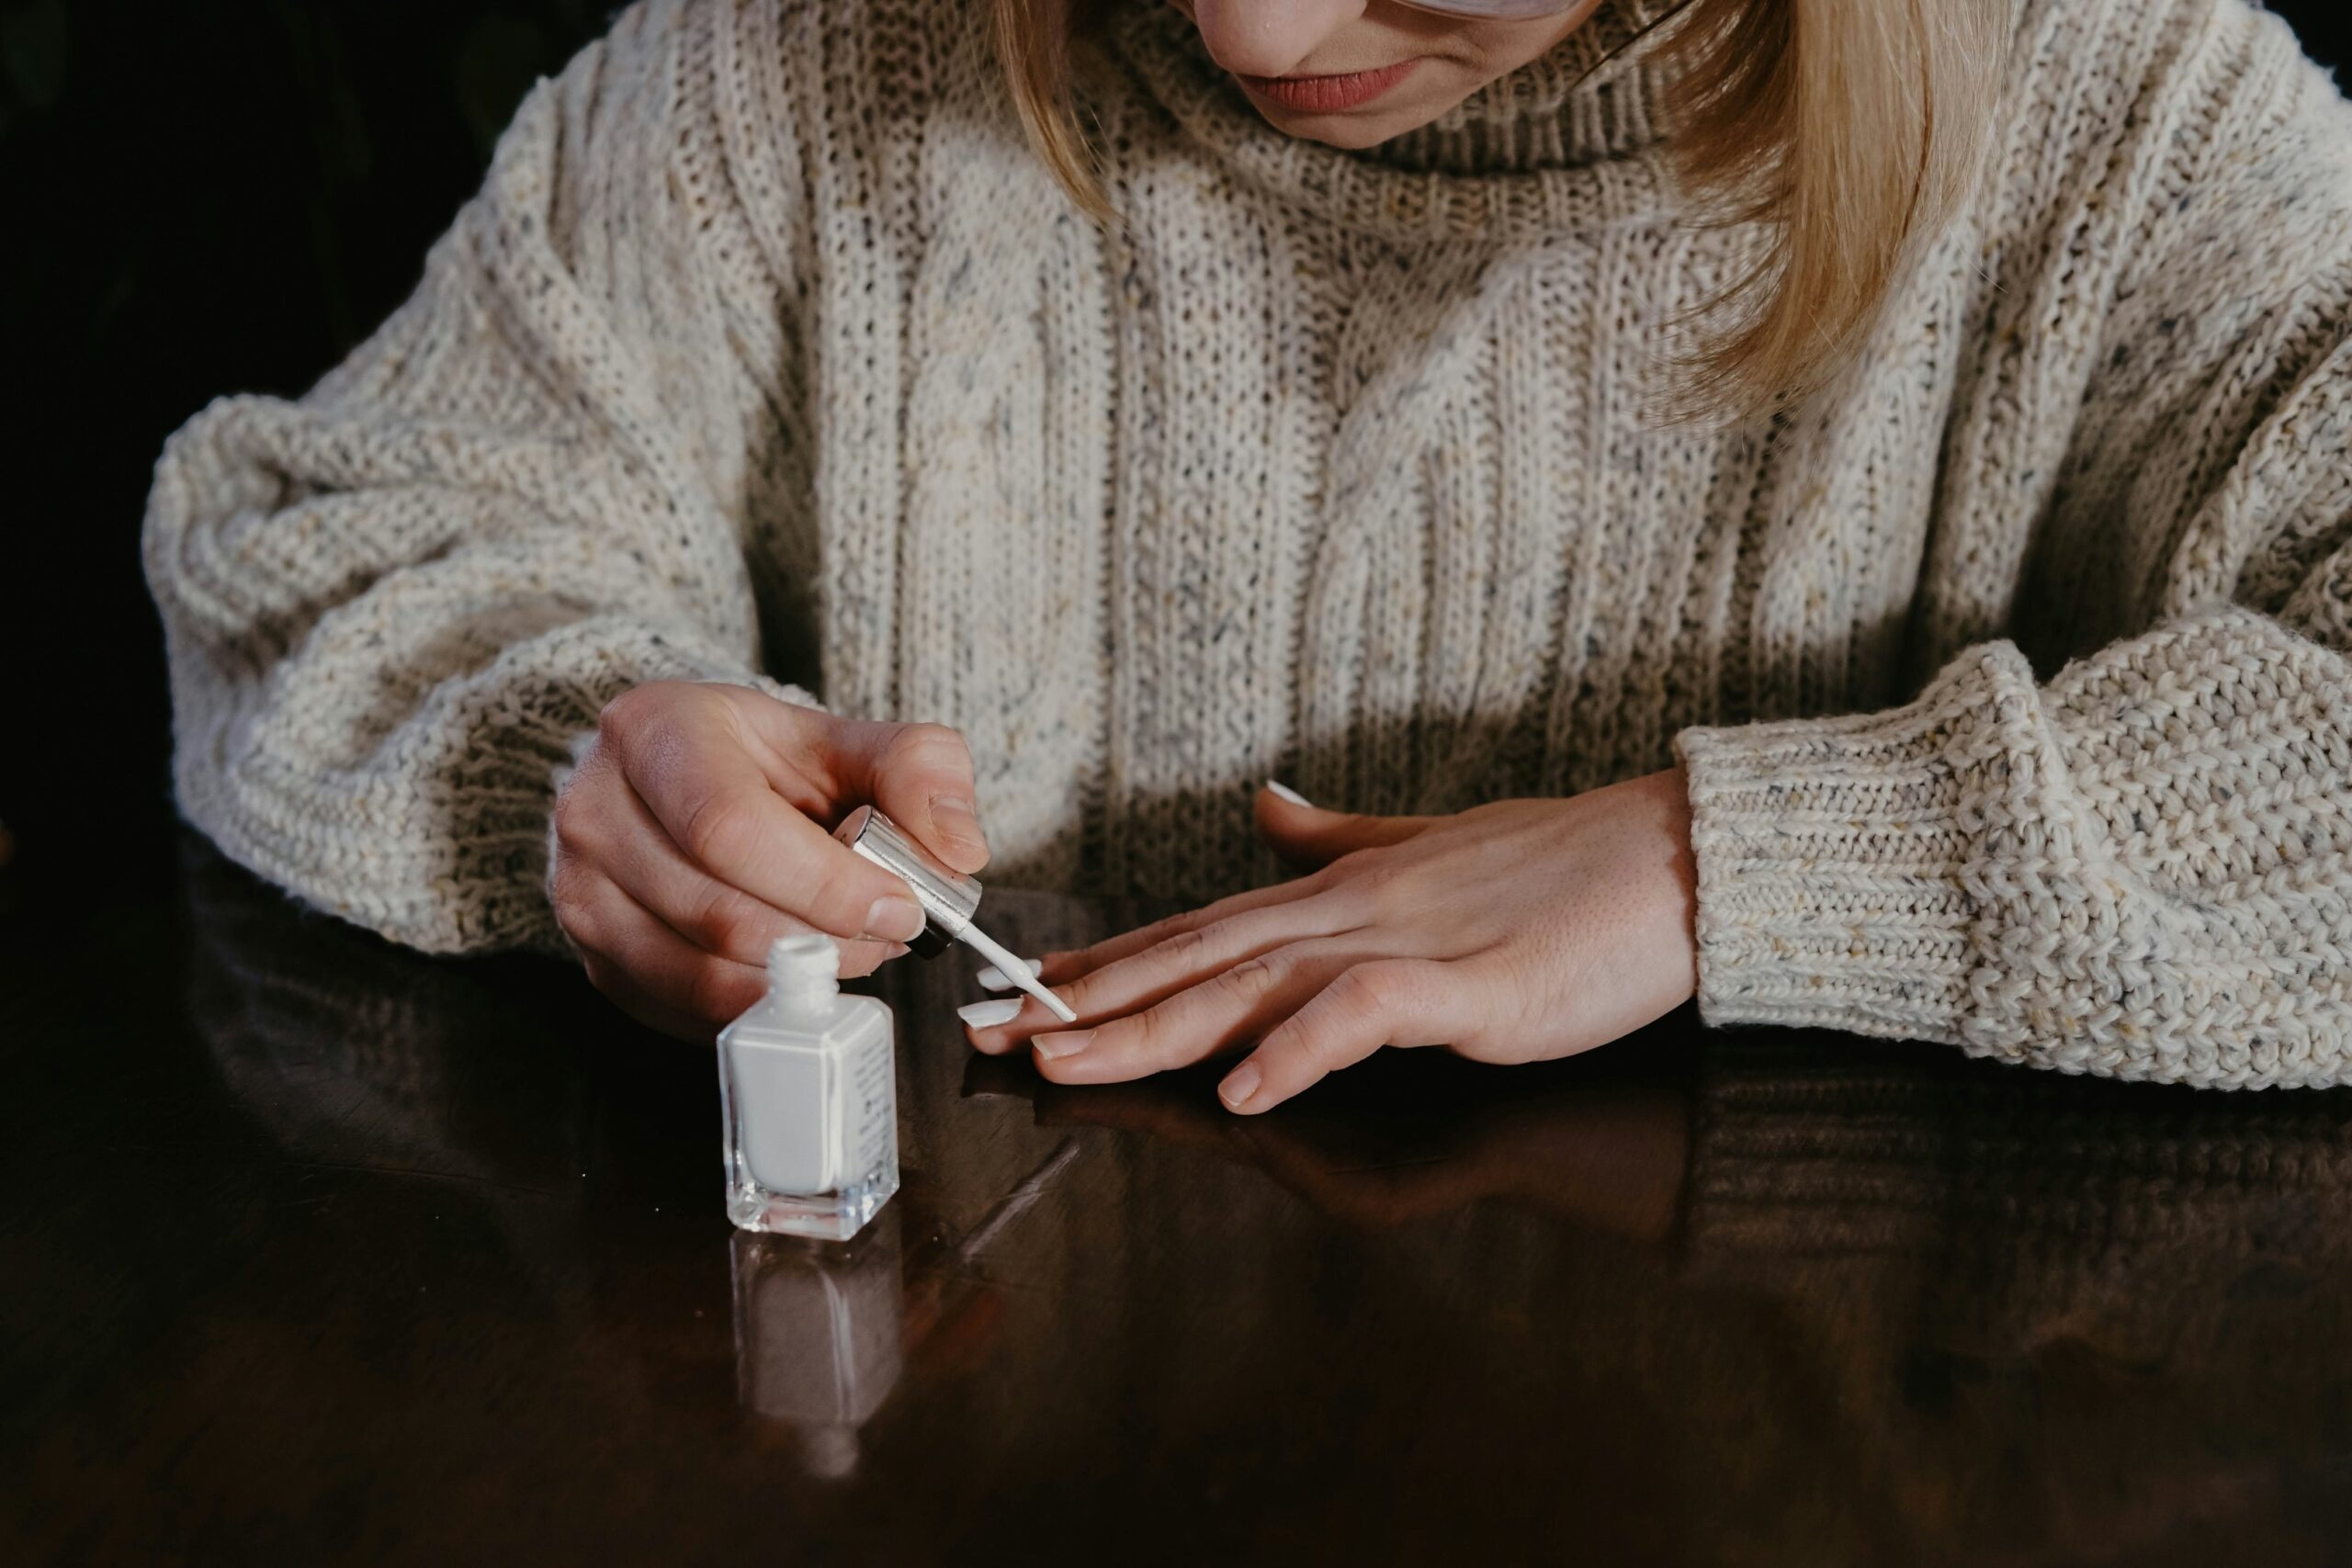
🎨 Step 5: Apply Polish Like a Minimalist
Let’s talk polish technique. The key is thin layers and patience.
-
Use the “three-stroke method”: one stroke down the middle, then one on each side
-
Let each coat dry at least 2 minutes before adding the next
-
Two thin coats > one thick one
✨ Quick-dry nail polish formulas save your time (and your sanity)
✨ Step 6: Top Coat = Your Manicure’s BFF
Top coat is what keeps your hard work from chipping, dulling, or disappearing midweek.
Use a glossy, fast-drying top coat that’s labeled chip-resistantApply it across the top of the nail and along the edge (the free edge) — that little swipe helps prevent tip wear
✨ Reapply top coat every 2–3 days to keep the shine alive
💨 Step 7: Let It Dry — Like Actually Dry
You’ve come this far. Don’t ruin it now by trying to open a bag of chips 30 seconds later.
-
Wait at least 10–15 minutes
-
Use a nail drying spray or nail fan to speed things up
-
Or go old-school and dip your nails in ice water after a few minutes to harden polish faster
✨ Quick-dry drops are an easy cheat code if you’re always impatient
🌈 Manicure Maintenance Tips (So It Lasts 5+ Days)
-
Wear gloves while doing dishes or cleaning
-
Avoid using nails as tools (we see you peeling stickers off)
-
Reapply top coat every couple of days
-
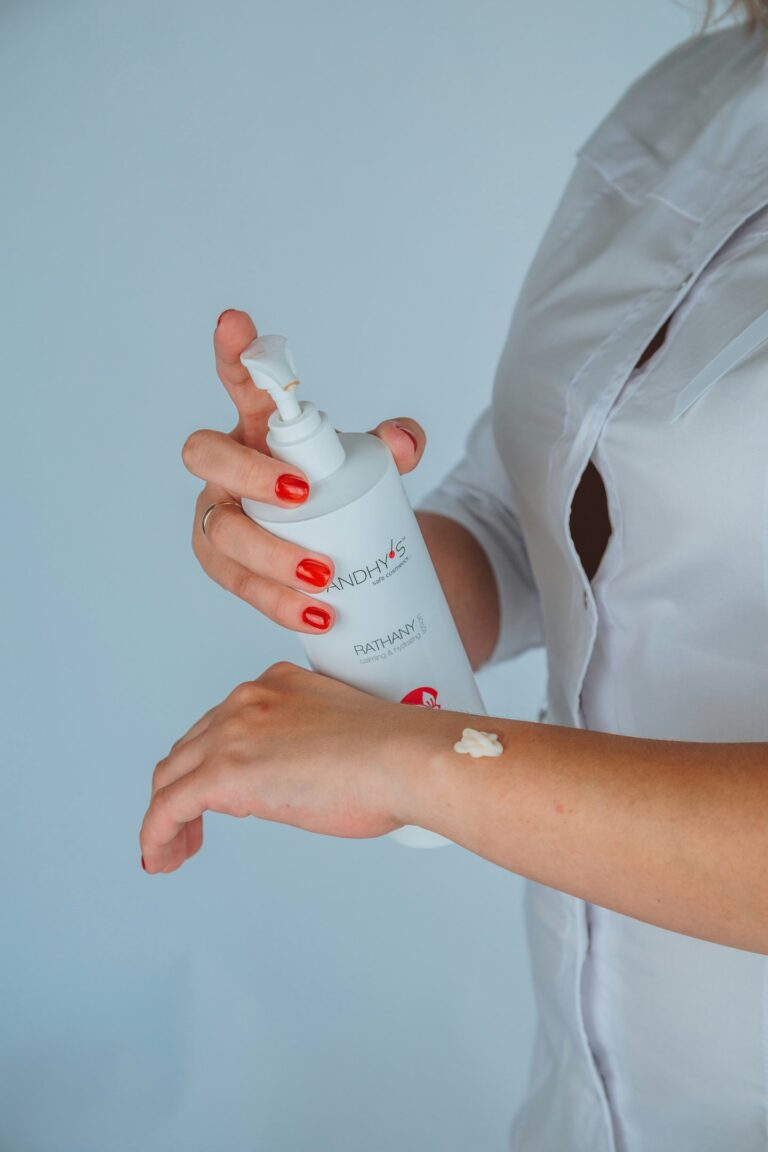
Moisturize your hands + cuticles daily to prevent cracking
✨ Keep a mini hand cream and cuticle oil pen in your bag for nail emergencies
🛑 Common DIY Mani Mistakes (and How to Avoid Them)
-
❌ Applying polish to dirty or oily nails
-
❌ Skipping base or top coat
-
❌ Using thick layers of polish
-
❌ Filing nails after polish (always shape first)
-
❌ Not letting each coat dry fully
Fix these, and your manicure game will level up fast.
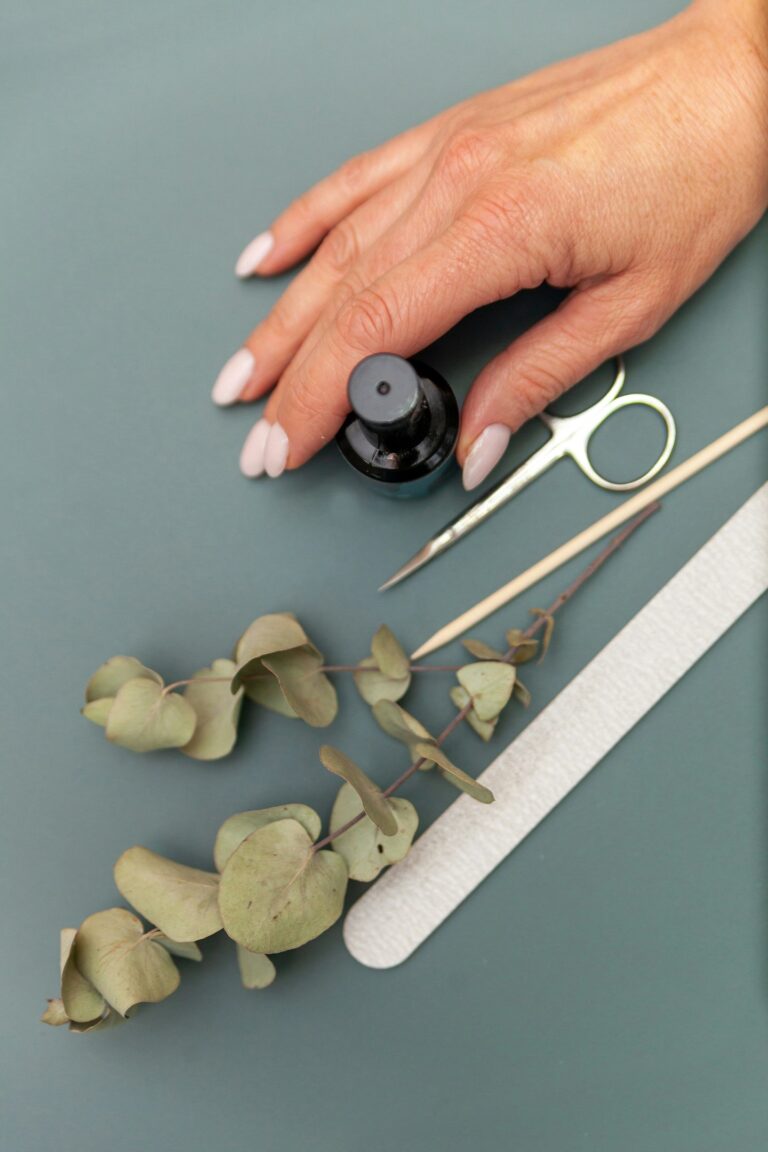
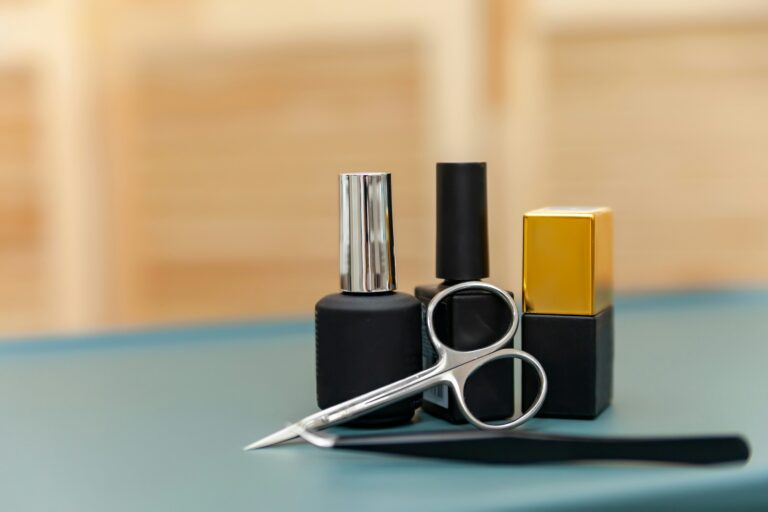
💅 What You Actually Need in Your At-Home Kit
Here’s your minimalist DIY manicure toolkit:
✨ Bundle these tools in a cute zip case so you’re always ready for nail night
💖 Final Glow Thoughts
You don’t need a pro stylist or fancy salon to have Insta-worthy nails.With a little prep, some no-chip polish, and just the right tools, your at-home mani can last 5–7 days (yes, even through your chaotic week).
So pour a drink, queue your comfort show, and give yourself that glow-up — one nail at a time.