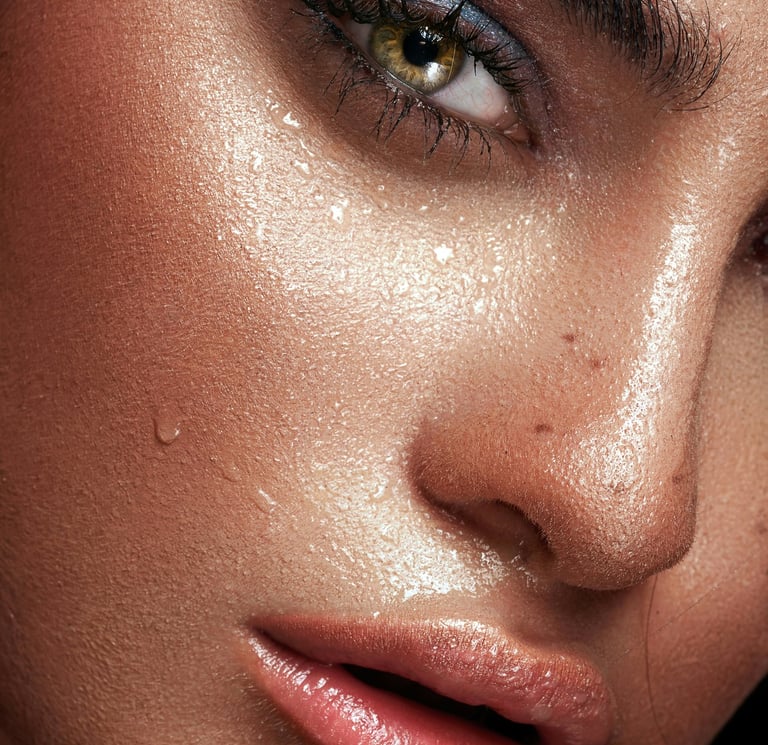
Conceal, Don’t Feel: The Right Way to Cover Dark Circles and Blemishes
We all have those days—late nights, unexpected breakouts, or just genetics doing their thing. Whether it’s stubborn dark circles that scream “I haven’t slept since Tuesday” or blemishes that appear right before a big event, concealer is your trusty sidekick. But let’s be real for a second. A lot of people use concealer wrong. Either it creases within minutes, highlights dry patches, or somehow ends up making things look worse instead of better. Been there. If you’re tired of watching YouTube tutorials that work for literally no one but the girl with perfect skin and studio lighting, this guide is for you. Here’s how to actually conceal dark circles and blemishes—without the caking, cracking, or disappearing act.
Step 1: Prep Like You Mean It
Before you even touch a tube of concealer, ask yourself: Is your skin ready?
Your under-eyes and breakouts need different prep:
For Dark Circles:
Apply a lightweight eye cream that hydrates without being greasy. Look for ingredients like caffeine or hyaluronic acid.
Let it sit for at least a minute to absorb. You want your concealer to glide—not slide.
For Blemishes:
Use a non-oily moisturizer that won’t clog pores but still prevents dry patches around acne.
If you're applying makeup right after treating a pimple with spot treatment, gently blot off any residue before concealer.
Skipping prep is like painting on a cracked canvas. Don’t do it.
Step 2: Correct Before You Conceal (Optional but Game-Changing)
Here’s the secret sauce that most people skip: color correcting.
Dark Circles
If your under-eyes have a blue or purple tint (common with fair to medium skin), a peach-toned corrector neutralizes it beautifully. For deeper skin tones, go for an orange or red corrector.
Dot it sparingly, then blend using your ring finger or a mini blending sponge.
Blemishes
Got redness? A tiny amount of green color corrector can tone it down before you add concealer. Just don’t go overboard—you want to cancel the redness, not turn into Shrek.
Step 3: Choose the Right Concealer (Trust Us, It Matters)
Not all concealers are made the same—and using one formula for everything is a common mistake.
Under-Eye Concealer Checklist:
Lightweight but pigmented
Hydrating with minimal creasing
Brightening finish (look for a radiant or satin formula.)
Try a hydrating concealer wand with medium coverage. Avoid super matte formulas—they’ll age you five years in five minutes.
Blemish Concealer Checklist:
Matte finish to avoid drawing light to bumps
High coverage, long-wear
Non-comedogenic (aka won’t clog pores)
Look for a full-coverage concealer pen with a slightly drier formula—it sticks to blemishes better and blends seamlessly.
And yes—you can absolutely use two different concealers for one face. That’s not extra. That’s smart.
Step 4: Apply the Right Way (It’s Not Just “Dot and Dab”)
Okay, now that you’ve got your concealers ready, here’s how to use them without wasting product or getting a cakey mess.
Under-Eyes:
Apply your foundation first, then conceal.
Place a few small dots of concealer in the inner corner and just below the outer edge—NOT the entire triangle of death.
Blend with a damp sponge or fluffy brush, tapping gently (never rubbing).
Press, don’t swipe.
Bonus Tip: Let the concealer sit for 30 seconds before blending. This gives you more coverage with less product.
Blemishes:
Apply a thin layer of concealer directly onto the blemish.
Let it dry for 15–30 seconds (this helps it grip).
Blend the edges, not the center, with a small concealer brush.
If needed, add a second layer and repeat.
Avoid sponges for blemishes—they soak up too much product and don’t give pinpoint precision.
Step 5: Set to Stay (Without Crusting It Up)
You’ve done the work—now lock it in.
Under-Eyes:
Use a microfine setting powder with a small fluffy brush.
Press, don’t dust. Just a light tap under each eye.
Skip the heavy baking unless you're doing a full glam look for photos or stage.
Try a finely-milled loose setting powder that’s translucent and won't flash back in photos.
Blemishes:
Press a matte powder over the spot using a tiny puff or pointed brush.
Don’t overdo it—too much powder on a blemish = crust city.
Extra Tips for Problem-Free Concealing
Layer thinly – More layers means more chance of creasing. Use less product, build slowly.
Choose the right shade – Your under-eye concealer can be one shade lighter than your skin tone. For blemishes, use a perfect match—lighter shades will emphasize texture.
Skip the shimmer – Avoid radiant finishes on blemishes. It highlights them. A matte finish concealer keeps them hidden.
Don’t touch your face – It seems obvious, but touching or picking can move product or irritate the skin. Set it and forget it.
Clean tools = better results – Dirty brushes and sponges lead to patchy application and even breakouts. Clean them weekly.
Common Concealer Mistakes (And How to Avoid Them)
Using the same concealer everywhere
Use targeted formulas for better results. Your under-eye and acne need very different things.Dragging the sponge or brush
Always tap and press. Swiping = moving the product off where it should be.Too much powder under the eyes
It’ll settle into fine lines and make you look tired. A light dusting is enough.Not letting concealer “set” before blending
Giving it 30 seconds allows for better coverage and prevents you from needing multiple layers.Blending too far out
Keep it where you need it—over-blending spreads the product thin and defeats the purpose.
Product Picks to Build Your Conceal Kit
Here are some tools and products that make concealing foolproof:
Brightening under-eye concealer with caffeine or peptides
Full-coverage matte concealer for blemishes
Color corrector palette with peach, green, and orange tones
Mini sponge set for precise blending
Tapered concealer brush for spot treatment
Loose setting powder that won’t flashback
Soft-focus under-eye setting brush
Hydrating eye cream for pre-concealer prep
You can build a full routine that works with your skin—not against it.
Final Thoughts: Confidence > Perfection
Concealer isn’t about hiding who you are—it’s about showing up confidently, whether you’ve got eight hours of sleep or three new pimples (we’ve all been there).
With the right products, a little patience, and a few pro-level tips, you’ll stop worrying about covering everything and start focusing on what really matters: feeling good in your skin.
Because great makeup doesn’t just conceal—it empowers. 💫
Glow is an Attitude
© 2025. All rights reserved