💋 The Perfect Lip Prep Routine Before Makeup: Soft, Smooth & Plump
Let’s be real — no matter how bomb your lipstick is, if your lips are dry, flaky, or just straight-up neglected, it’s gonna ruin the whole vibe. You wouldn’t paint a masterpiece on a crumpled canvas, right? So let’s get those lips prepped and popping before you even think about color. Whether you’re a lip gloss girly, a matte lipstick queen, or just dabbling in that “no makeup” makeup look, a solid lip prep routine is your secret weapon. And the best part? You can get everything you need right off Amazon. Yup, no beauty store chaos, no long lines. Ready to level up your lip game? Let’s get into it. 💄
🧼 Step 1: Clean Those Lips, Babe
Before anything else, you want a clean, fresh canvas. Throughout the day (or night), lips pick up oils, food residue, and sometimes leftover lipstick you forgot to remove. So the first step? Cleanse.
Just a soft cloth and some micellar water will do the trick. But if you're a skincare overachiever (same), you can try a gentle lip cleansing balm too.
🛍 Try: [Bioderma Sensibio H2O Micellar Water – Gentle and effective]
🛍 Or: [Banila Co Clean It Zero Cleansing Balm – Removes lip color like a dream]
🧽 Step 2: Exfoliate – No More Crusty Lips
You cannot — and I repeat, cannot — skip exfoliating. Lipstick on flaky lips is a crime.
Use a gentle lip scrub to buff away dead skin. Don’t go ham, though. Your lips are delicate.
You can DIY with sugar + honey (cute and all), but if you want something ready-to-go (and way more effective), these lip scrubs on Amazon are total game-changers.
🛍 Try: [Hanalei Sugar Lip Scrub – Hawaiian vibes + super moisturizing]
🛍 Or: [Burt’s Bees Conditioning Lip Scrub – Natural and smells like vanilla heaven]
Use 2–3 times a week for baby-soft lips. Wipe off with a damp cloth or rinse with warm water.
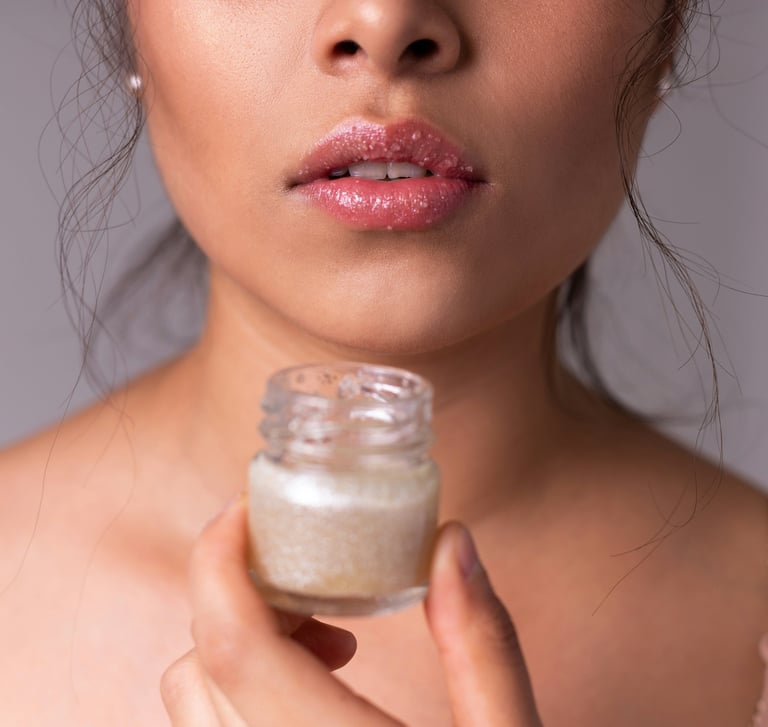
💦 Step 3: Hydrate Like Your Lips Depend on It (Because They Do)
This step is the MVP. After exfoliating, your lips are fresh and a little vulnerable — time to soak in that moisture.
You want a hydrating lip mask or lip balm with ingredients like shea butter, hyaluronic acid, or vitamin E.
Apply it generously and let it sink in while you do your makeup. By the time you’re ready for lipstick, your lips will be plump and juicy.
🛍 Try: [Laneige Lip Sleeping Mask – Literally viral for a reason]
🛍 Or: [Aquaphor Lip Repair – Budget-friendly and a cult classic]
🛍 Bonus: [Rhode Peptide Lip Treatment – Hailey Bieber lips, anyone?]
🧊 Step 4: Optional, But Iconic — Lip Plumper
Wanna add a little drama? Go for a lip plumper before your lipstick. Not only do these give you an instant pout, but many also have hydrating and smoothing benefits.
Apply it after balm, wait a few minutes, and then wipe it off before color.
🛍 Try: [Too Faced Lip Injection Extreme – Spicy but effective]
🛍 Or: [NYX Filler Instinct Plumping Polish – Budget-friendly shine and tingle]
(If you’re sensitive to spicy formulas, look for mint-based plumper's instead.)
🧴 Step 5: Lip Primer – The Glow-Up Nobody Talks About
If you really want your lip color to last (and not bleed into fine lines), then sis, you need a lip primer. This step is slept on, but it makes a huge difference — especially with bold or matte lipsticks.
It preps the surface, smooths out texture, and locks your lipstick in place like a pro.
🛍 Try: [e.l.f. Lip Primer & Plumper – Two-in-one magic]
🛍 Or: [MAC Prep + Prime Lip – Pro-level performance, lightweight feel]
Apply just a thin layer and let it set for a few seconds.
🎨 Step 6: Line It Up
Okay, this isn’t technically “prep,” but hear me out — lining your lips before lipstick doesn’t just define them. It also acts as a barrier so your lipstick doesn’t bleed or feather.
Pick a liner close to your natural lip color for versatility, or match it to your lipstick if you're going bold.
🛍 Try: [NYX Slim Lip Pencil – So many shades and super creamy]
🛍 Or: [Milani Understatement Lipliner Pencils– Affordable and smooth AF]
Pro tip: Outline just outside your natural lip line for a fuller look (no filler needed!).
💄 Final Step: Apply Lipstick or Gloss and SLAY
Now that your lips are clean, scrubbed, hydrated, primed, and lined — you’re ready for the main event. Your lipstick (or gloss) is gonna glide on like butter, stay in place, and look 🔥 all day.
And if you’re feeling bold, here are some Amazon picks worth trying:
🛍 Try: [Maybelline Color Sensational Lipstick – Hydrating and Cream finish]
🛍 Or: [Revlon Super Lustrous Lipstick – Creamy, classic, and iconic]
🛍 Gloss girl? [Fenty Beauty Gloss Bomb Universal Lip Luminizer] is chef’s kiss
💋 Quick Recap: Your Lip Prep Routine
Clean your lips with micellar water or balm
Exfoliate gently 2–3x a week
Hydrate with a lip mask or balm
Optional: Add a plumper for that pout
Use a lip primer to lock in color
Line your lips like a boss
Apply lipstick or gloss — and go turn heads
✨ Final Thoughts
Lip prep is one of those little things that makes a huge difference — not just in how your makeup looks, but how it feels. No more dry, flaky lipstick disasters. Just smooth, juicy, kiss-worthy lips that are ready for anything.
Plus, all these steps are easy, quick, and totally worth it .
So next time you’re doing your makeup, give your lips the love they deserve. You’ll thank yourself — and honestly, so will your selfies. 📸💕
Glow is an Attitude
© 2025. All rights reserved